First Steps
First copy the following supporting program into your code editor:
from miniworldmaker import *

class MyBoard(ProcessingBoard):
    def on_setup(self):
        pass

my_board = MyBoard(600, 400)
my_board.show()
This framework programme does the following:
- In the upper part of the source code, a separate class (i.e. a blueprint) is created for your own miniworld. It is a special ProcessingBoard.
- In the lower part, a new window with width 600 and height 400 is created from this blueprint.
The first image
You can create images by adding graphic objects to the setup() method:
This works like this:
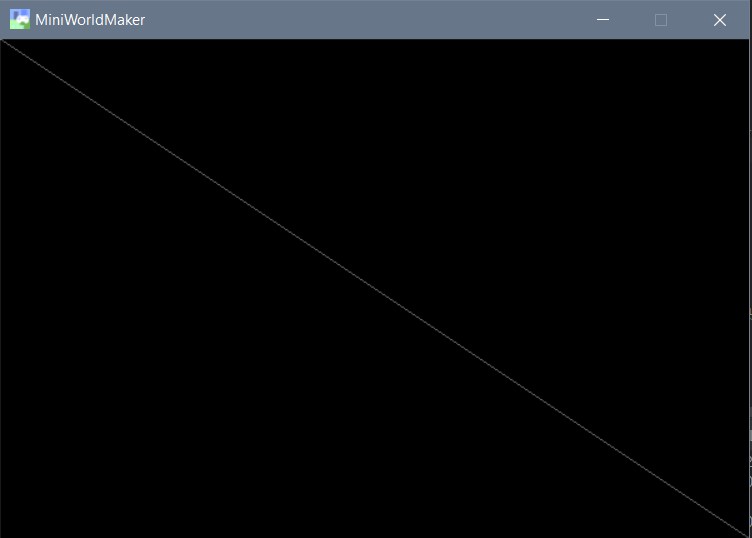
from miniworldmaker import *


class MyBoard(ProcessingBoard):
    def on_setup(self):
        self.fill((0, 0, 0, 255)))
        Line((0, 0), (600, 400), color=(100, 100, 100, 255))


my_board = MyBoard(600, 400)
my_board.show()
The background is first colored completely black. A diagonal is then drawn across the image.
Drawing the basic shapes
The syntax for the most important commands is as follows
- Line: Line((x, y), (x, y), thickness)
- Circle: Circle((x,y), radius, thickness)
- Ellipse: **Ellipse((x, y), width, height, thickness)
- Polygon: **Polygon([(x1, y1), (x2, y2), (x3, y3), …], thickness)
The thickness parameter is optional and specifies the thickness of the lines. If you set this to 0, then the corresponding object is filled in and drawn.
Example:
from miniworldmaker import *
class MyBoard(ProcessingBoard):
def on_setup(self):
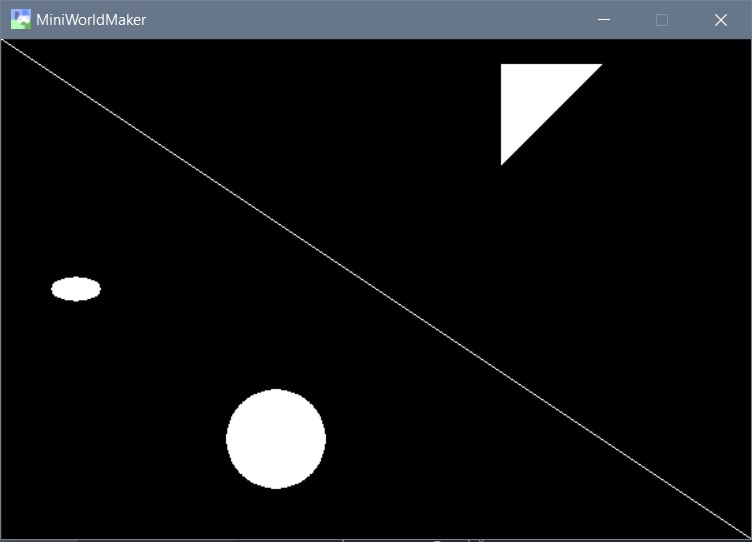
self.fill((0, 0, 0, 255)))
Line((0, 0), (600, 400))
Circle((200, 300), 40, 0)
Ellipse((60, 200), 40, 20, 0)
Polygon([(400, 100), (480, 20), (400, 20)], 0)
my_board = MyBoard(600, 400)
my_board.show()
The code results in the following image:
The coordinate system
The computer usually uses a slightly different coordinate system than in mathematics lessons.
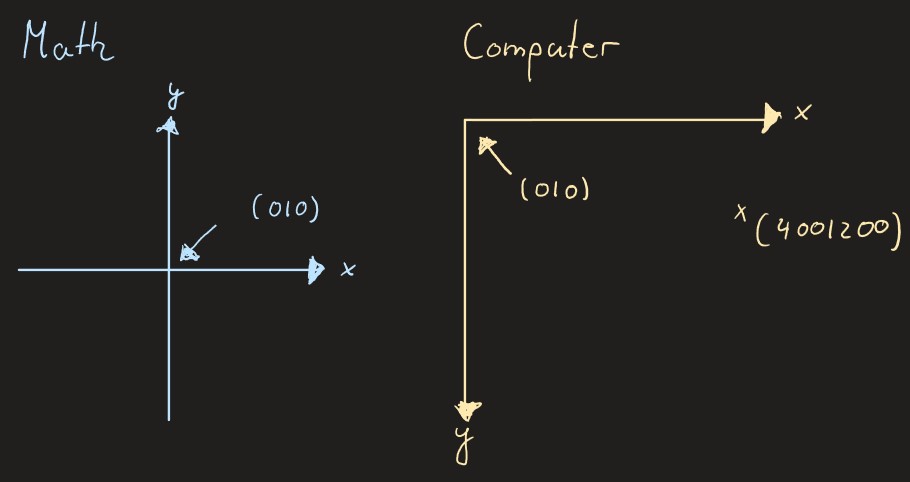
The upper left corner is the origin (0|0). Therefore, large y-values mean that a point is further down.
Each object has the following properties
- object.x - The x-coordinate of the object
- object.y - The y coordinate of the object.
- object.position - The position of the object as a 2-tuple, e.g. (400, 200)
You can also change the rotation with
- object.direction
Colors
Each object can be colored with an additional parameter.
A color is a 4-tuple: (r, g, b, alpha) . Each of these 4 parameters is a number between 0 and 255.
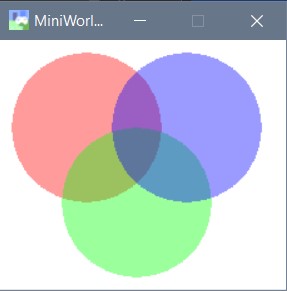
The first 3 parameters indicate the proportion of red, green and blue in the image. The last parameter indicates the transparency of the color. A value of 0 means that the object is absolutely transparent (and therefore invisible). A value of 255 means that the object is not is transparent.
In the following example, an average transparency value was selected so that the circles below are still visible:
from miniworldmaker import *


class MyBoard(ProcessingBoard):

    def on_setup(self):
        self.fill((255, 255, 255, 255)))
        self.circle1 = Circle((40, 40), 60, 0, color = (255, 0, 0, 100))
        self.circle2 = Circle((80, 100), 60, 0, color = (0, 255, 0, 100))
        self.circle3 = Circle((120, 40), 60, 0, color = (0, 0, 255, 100))


my_board = MyBoard(230, 200)
my_board.show()
Beispiel:
Animations
You can animate Objects by adding commands to the act() method. This method is called once for each frame.
Example:
from miniworldmaker import *


class MyBoard(ProcessingBoard):

    def on_setup(self):
        self.fill((0, 0, 0, 255)))
        self.circle1 = Circle((20, 400), 20, 1)
        self.circle2 = Circle((110, 410), 20, 1)
        self.circle3 = Circle((180, 420), 19, 1)
        self.circle4 = Circle((210, 500), 21, 1)
        self.circle5 = Circle((350, 400), 20, 1)
        # self.l1 is an object variable. You can access the variable in all methods of the class.

    def act(self):
        self.circle1.y -= 1
        self.circle2.y -= 2
        self.circle3.y -= 3
        self.circle4.y -= 1
        self.circle5.y -= 2


my_board = MyBoard(400, 400)
my_board.show()
This is the program:
Events
Events are events to which the program can react. An event can be, for example:
- A mouse button was pressed or the mouse was moved.
- A key was pressed.
- The board has been rebuilt.
Events automatically call up special functions. If you overwrite these functions, you can control the behavior of the program on the events.
You can overwrite the following functions:
on_setup() - When creating the board on_key_pressed(self, keys) - When a key is pressed (is called again and again), if you keep the button pressed) on_key_down(self, keys) - When the key is just pressed down on_key_up(self, keys) - When the key is released again on_mouse_left(self, mouse_pos) - When left mouse button is pressed on_mouse_right(self, mouse_pos) - When right mouse button is pressed on_mouse_motion(self, mouse_pos) - When the mouse is moved (Is called again and again during movement) act() - This method is called again and again independent of events.
Example:
from miniworldmaker import *


class MyBoard(ProcessingBoard):

    def on_setup(self):
        self.color = (255, 255, 255, 50)
        self.fill((0,0,0,255)))

    def act(self):
        Ellipse(self.get_mouse_position(), 80, 80, 1, self.color)

    def on_mouse_left(self, mouse_pos):
        self.color = (200, 100, 100, 50)

    def on_mouse_right(self, mouse_pos):
        self.color = (255, 255, 255, 50)


my_board = MyBoard()
my_board.show()
Translated with www.DeepL.com/Translator